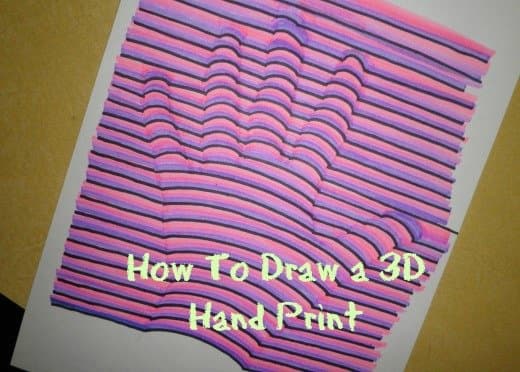
how to draw a 3d hand print
Dorsi is a freelance writer/researcher in the San Francisco Bay Expanse. She is too a photographer, art educator, and artist.
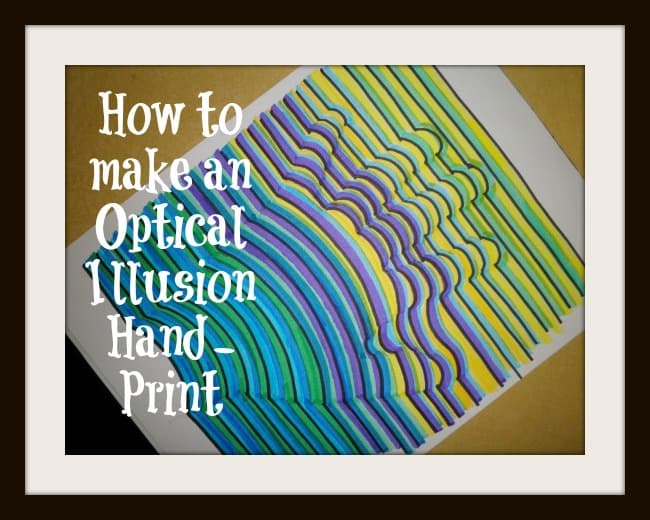
Step-by-step instructions on how to make an optical illusion handprint
Dorsi Diaz
I am on a handprint kick—drawing them that is. Not only drawing them but coloring them with markers in all kinds of vivid and lovely colors. Lucky family members who make it my path go their mitt grabbed, traced and colored. It's become addicting actually . . . who wouldn't beloved making 3D handprints that are worthy of an fine art gallery?
In the spirit of sharing, I take prepared a pace-past-step tutorial on how to draw these incredible handprints. I accept also included some in unlike colors so you have some color ideas when you lot do yours. Don't exist afraid to try this, really anyone can exercise it. It just takes a fairly steady hand and a little creativity.
I tin can't accept credit for this thinking up this craft, I actually had a friend email this who idea information technology would brand a good lesson. And it does! It is so much fun.
Permit the fine art begin!
Necessary Materials
- Drawing paper (printer paper is OK if you lot don't have any drawing paper)
- Pencil
- Eraser
- Sharpie
- A few colored markers
Photo Tutorial
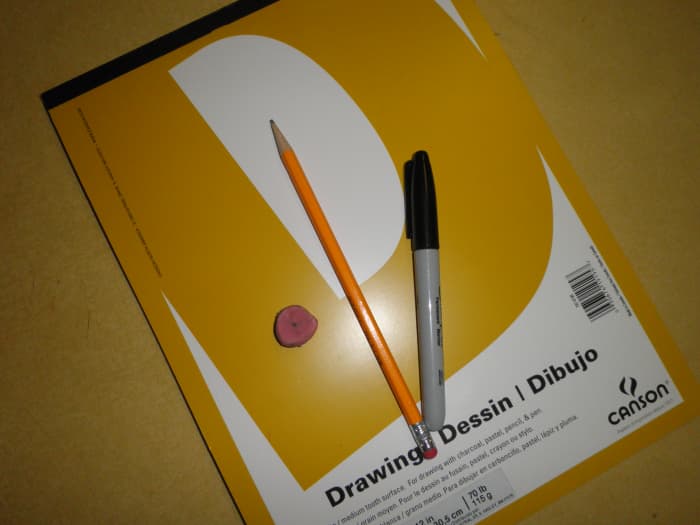
You'll need cartoon newspaper, a pencil, an eraser, a Sharpie, and a few colored pencils
Dorsi Diaz
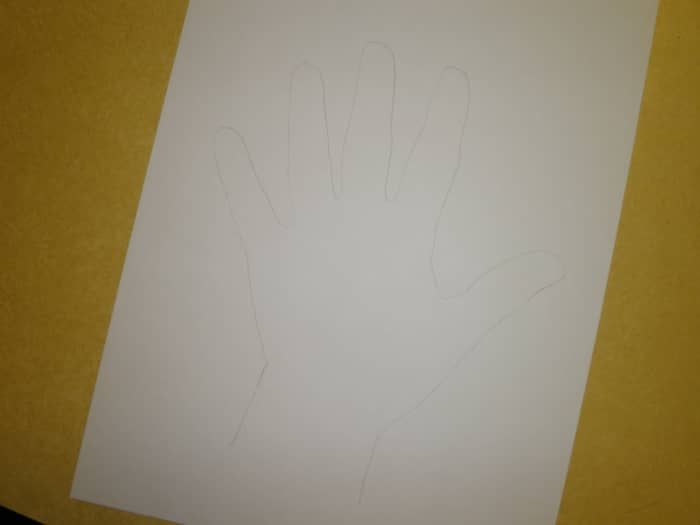
Start past tracing your hand in pencil.
Dorsi Diaz
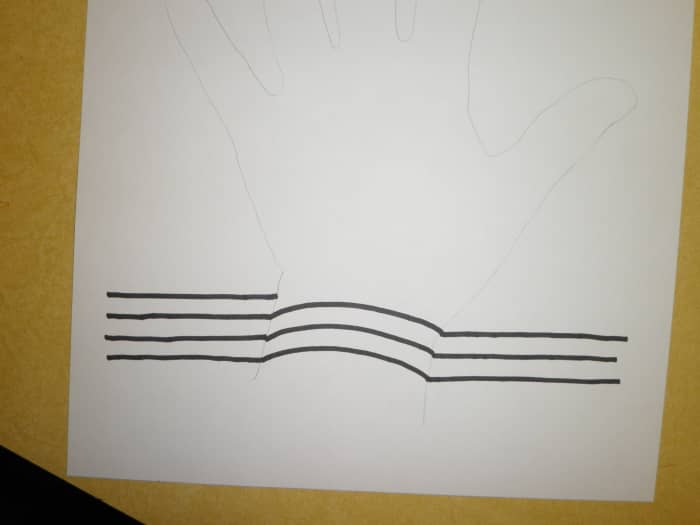
Start with a straight line at the bottom of your newspaper and depict straight across until yous get to the print. At present make a slight arching line over the handprint, then describe a directly line the residuum of the mode across the newspaper.
Dorsi Diaz
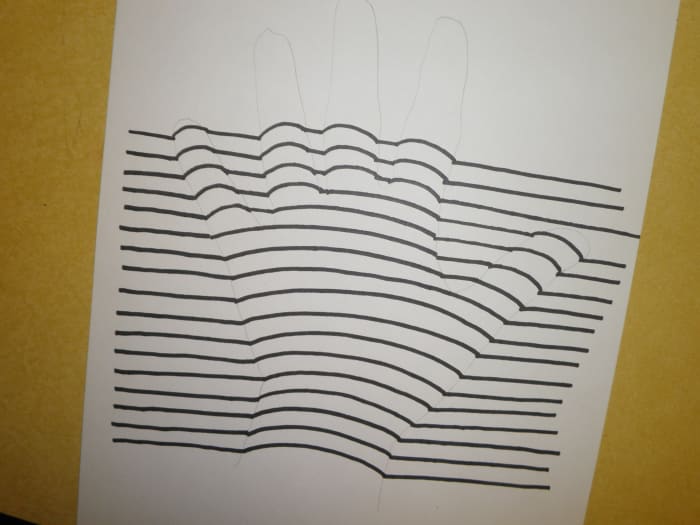
When yous get to the fingers, exercise the aforementioned thing except each finger gets its own arch. Then go straight across to the next finger and so on.
Dorsi Diaz
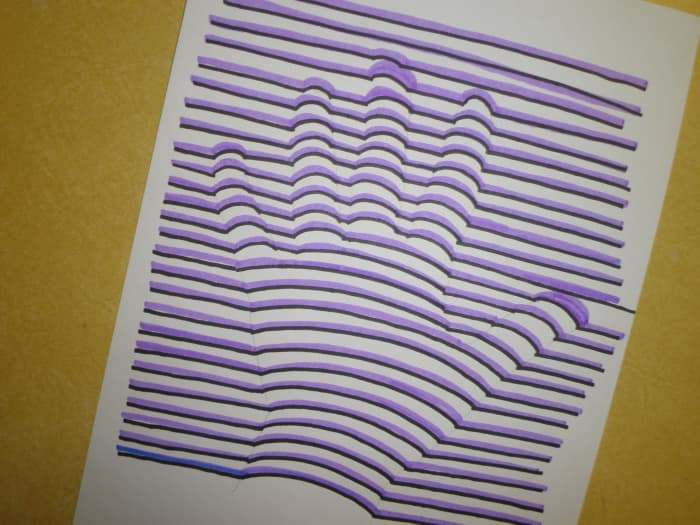
Pick out some favorite colors from your markers and start layering above your Sharpie lines with color, one at a fourth dimension.
Dorsi Diaz
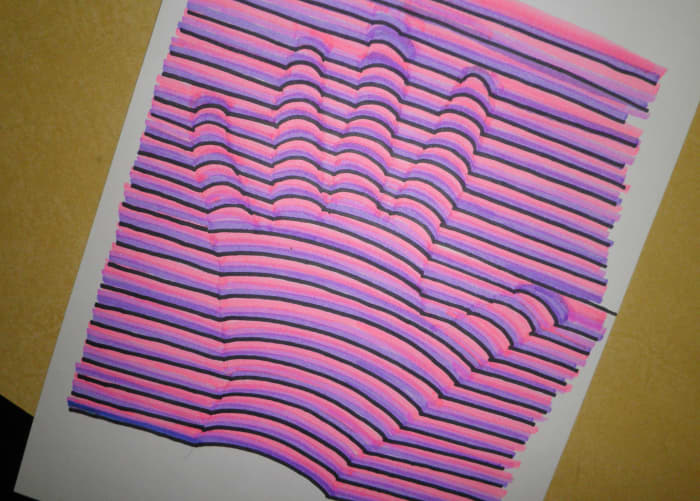
Try dissimilar color combinations!
Dorsi Diaz
How to Draw a 3D Handprint
The photos above illustrate the process. I will likewise walk you through the steps here:
- Start by tracing your hand in pencil. Make certain you tin conspicuously see your lines. Try to hold your wrist as direct every bit possible (you'll come across why this makes it easier when yous get to the other steps).
- Next first with a straight line at the bottom of your paper and draw straight beyond until y'all get to the print. Now make a slight arching line over the handprint, then draw a direct line the remainder of the way across the paper. You may want to do these start few lines with pencil until yous get the hang of it. If you are really confident, go for the Sharpie at this point. Don't worry about your lines being perfect or going all the way to the edge of the paper.
- Lather, rinse and repeat until you get to the pollex. This part can be a little tricky and you may find your line leaning downwardly. That's OK, you will go them straighter equally you lot go up. This does not have to be perfect. The main matter is to become a good arching line on the handprint part.
- When you get to the fingers, do the same affair except each finger gets its own curvation so go straight across to the next finger and so on. If you are nonetheless using pencil and non satisfied with the results, you lot can correct them as you get.
- Later on you lot go to the top and accept drawn all the fingers and the impress, make a few more straight lines at the meridian to consummate your drawing. You are done with the outset part!
Time to Colour!
Pick out some favorite colors from your markers and showtime layering higher up your Sharpie lines with color, one at a time. You can change colors midstream, experiment, mix colour combinations, whatever feels good to you.
Read More From Feltmagnet
As yous can see, I have been experimenting with unlike colour combinations, including rainbow colors and even an "abstract" handprint with wavy lines on each side (I don't recommend starting out with that one though, practise some practice first)
Layer your colors one by i until you lot are done. I establish myself using either two or three colors betwixt my blackness Sharpie lines. You tin also not employ black at all, this is entirely up to you.
In that location, that's it! Enjoy your 3D handprint works of fine art!
Ideas for Your Handprint Art
This would be fun artwork to non only frame and put on the walls, just would as well be keen for:
- Female parent'south Day gifts (exercise your child's hand and give to Mommy or Grandma)
- Male parent's Day gifts
- Birthday presents
- Craft lessons with kids
- Art lesson in a studio setting
- Christmas gifts
- Family craft (do all of your handprints together)
More 3D Handprint Fine art
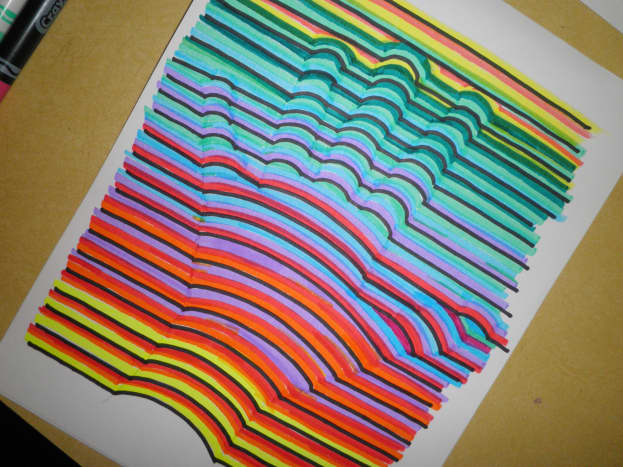
My 3D handprint
Dorsi Diaz
Dorsi Diaz (writer) from The San Francisco Bay Area on July 03, 2013:
@PaisleeGal) YW and you are going to have so much fun making these Paislee!
Pat Materna from Memphis, Tennessee, Us on June 26, 2013:
This looks similar so much fun!!! I can't wait to get creating fun handprints with my family and friends ... Thanks for sharing !!
Dorsi Diaz (writer) from The San Francisco Bay Area on June 18, 2013:
@dianagamzinai) I am and so glad you lot tried it and enjoyed information technology! Thank for coming past, reading and doing the project. That's awesome!
@Rich W2K) Cheers Rich. This is such a fun project - definitely one of my favorites.
Rich from Gilded Coast on June eighteen, 2013:
This is brilliant, and you make it expect so easy. To me it really looks like yous've put a brightly-colored glove on a piece of newspaper and and so drew lines of the same color abreast it to act as camouflage! Great idea for kids also. Thanks
Diana on June 13, 2013:
Hello, this is really cool article and I read information technology and try to exercise this not on my own simply with my trivial cousins. We have so much fun ! Also, I tw.eet this considering I thought that this is the main idea why 3D handmade products are better that the printed 3D products - they can brand so fun for the people to get in by itselfs.. not just modeling it by the estimator.. :) Cool ! Thanks
Dorsi Diaz (author) from The San Francisco Bay Area on May 11, 2013:
@Vacation and randomcreative) Thanks. This is one of the most awesome crafts I have stumbled across lately. Fun to practise for whatever historic period!
Rose Clearfield from Milwaukee, Wisconsin on May 11, 2013:
What a cool technique! Thanks for sharing.
Susan from India on May xi, 2013:
This looks skillful. Your instructions and pics are so clear. Thank you Dorsi for sharing. Voted upward.
Dorsi Diaz (author) from The San Francisco Bay Area on May 10, 2013:
@NornsMercy) Thanks, I've been having and so much fun with this i!
Chace from Charlotte, NC on May 10, 2013:
This is so absurd! Voted upwardly/awesome/beautiful considering it really is! :)
Source: https://feltmagnet.com/drawing/Art-Lesson-How-To-Draw-A-Hand-Print-In-3-Dimensional-Colors
Post a Comment for "how to draw a 3d hand print"